Harvest Party “Punch a Prize”

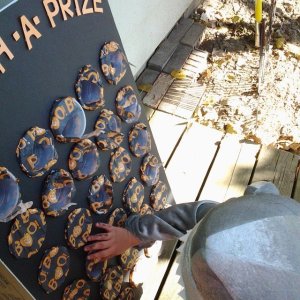
This weekend my friend and I co-hosted a fun and kid friendly Harvest party. Once we set a date we scoured the internet for fun ideas and I came across a “punch a prize” project that looked like the perfect activity for toddlers and big kids alike! Think indoor piñata with no one hoarding all of the fallen goodies or getting a beat down by a blind batter 🙂

So here it is, in all of it’s glory. Prepare yourselves for dim photos {hey…it was rainy and dark out and hubby has yet to replace the kitchen light bulb} and super simple instructions to make your punch a prize. You can change colors to fit your theme, even put your cups into a shape such as a cupcake, pumpkin, apple-the possibilities are endless!

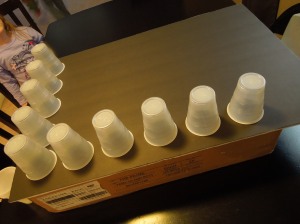
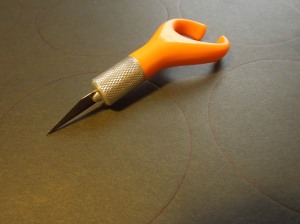
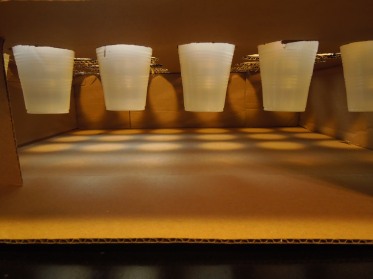
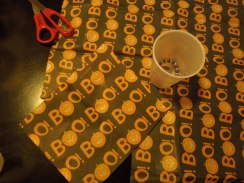
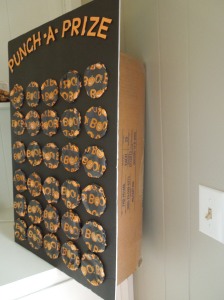
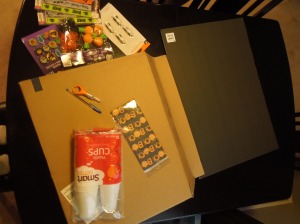
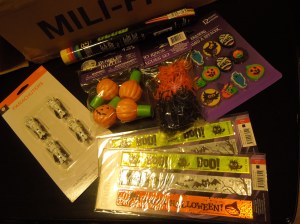
First you begin with what you see here. Foam board {Dollar Tree} large box, plastic cups, tissue paper, glue, knife and goodies of course! You can also paint your box but I didn’t mind leaving it unpainted.

003002

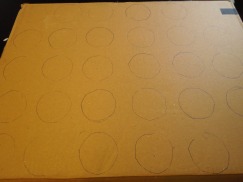
Begin by placing cups and tracing them. You can get as scientific as you like with creating your columns but I figured this was ok for me to eyeball because it would be punched by a bunch of kids and may not make it through the party.

006 008

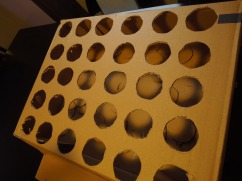
Once you have all of your holes traced you can begin cutting through. It would be good to cut just inside your lines so your cup doesn’t slide through all of the way. Then you can trace your circles on to your box and cut.

019016018

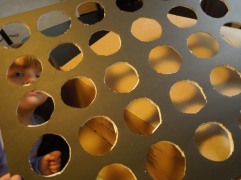
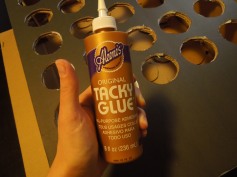
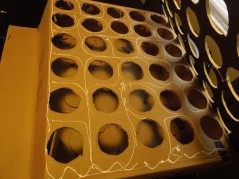
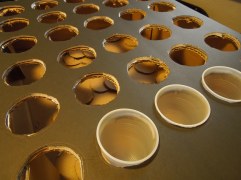
Once you have both cut you will want to put your cup through and be sure it fits before you glue the foam to the base. Any crafting or all purpose glue will do. I love Tacky Glue myself.

020021025

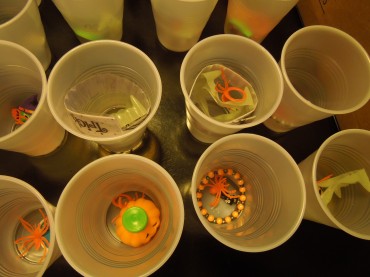
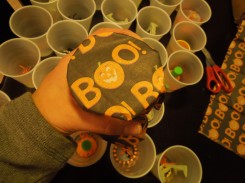
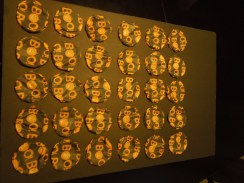
Now the fun starts! Grab your kids, fills those cups and cover with tissue paper. I cut my tissue sheets into smaller squares about 8×8 inches. You can pinch the center of the cup as you shimmy it into position. It might take a few tries to get the hang of it.

026029030032035

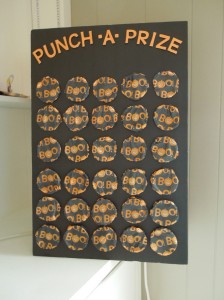
I used my die cutting machine to create the title but you can paint it and add a cool design. Or even use a chalkboard marker to fancy it up. The kiddos could also decorate it with stickers.

040038

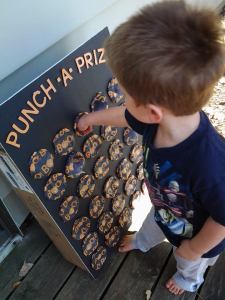
Welp, the kids loved it! It was an easy way to win a fun prize and guess what? It held up very well so it will be used for my son’s 2nd grade Halloween class party! This was an easy project to make and took about an hour to create but totally worth it and versatile enough to use for any theme or occasion.
harvest party gameharvest party game 2

Summer Time Sweetness

Soooo it’s July and I am just now getting back to my poor little neglected blog. But guess what? I have a website! But more about that in a minute.
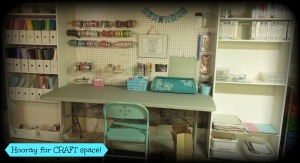
After a long winter and way more snow than I ever want to see again it is SUMMER! I have been pretty busy with home life now that my kiddos are out of school but have found time in the evenings to work on orders. My studio is so cool and comfortable on those hot nights. Sometimes…when I’m down there…I wear a sweater. Eep! Wanna see my space?!

Welcome to my crafty dojo {please remove your shoes}

craft room 1

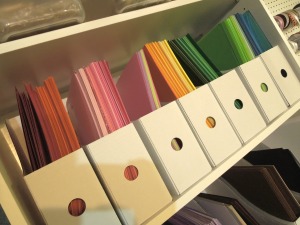
Whaaaat? Paper organized by color?

craft room 5

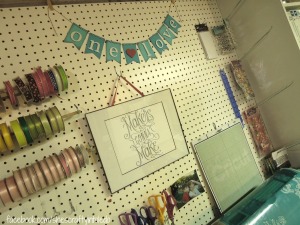
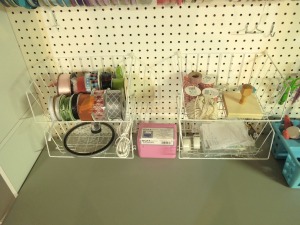
Paper and punches and ribbon, oh my! I assure you, this is never as clean and organized.

craftroom 2craft room 6

I made this space in the fall last year and absolutely love it. I began this journey at the dinner table a few years ago, and if you’ve been there you know how awesome it is to have your “shtuff”  in a designated area as opposed to all over the table only to move it around to make room for dinner or homework. Or you turn around for a moment and your toddler “improved” your work with some lovely crayon artwork. It is located in our lower level and out of the way.  I had an idea for a craft space but the kits in the stores were amazingly expensive! So with 2 bookshelves, some pegboard and screws, anchors and folding table I created my studio for about $110 and to top it off without any help from anyone, which is super rad. Plus I raided the Dollar Tree for wire baskets and plastic tubs for organization. {pssst, paper organizers were $2 for a 3 pack at Ikea!}  Now I can hide… err I mean work in a kid free zone and finish up orders quickly and with far more space to make messes in.

Oh yes, my website! After getting a few quotes on web design I realized my wish list was a bit high. So I decided to be a true DIY’er and make my own. Needs a bit of tweaking but it’s done! Here you can find out a bit more about me, how to order and keep up on pics of orders and my own projects. And when you’re feeling down, a photo of me in a moustache is awesome and available for giggles 🙂 I also have a really exciting product to offer in September once the final private reviews are in. I am so pumped to show you what’s new!  So visit, share, and lemme know what you think! shescraftyshop.com


Halloween Door Decor

Yesterday was the last day of summer and for the last few weeks I have been desperately clinging to each summer day with its sunshine, light breeze, endless BBQ’s and outdoor play dates. But alas, Autumn has crept in and with it comes crisp evenings, bonfires, apple picking and HALLOWEEN! Okay, so the decorations have been up in stores for months now but I refused to buy into it so early. After all, I was hanging on to each warm day while I could.

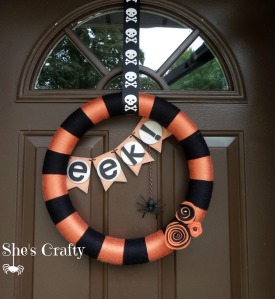
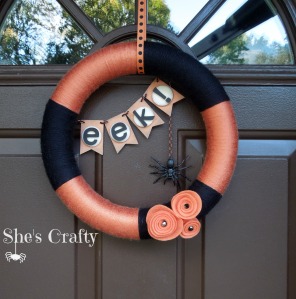
But I have been bitten by the Halloween bug and therefore began thinking of ways to decorate my home. Our new home has no porch but a stoop. This has me looking for new ways to decorate with sturdy items that hold up to rain and all the wild outdoors have to offer. Not gonna lie, I miss my porch! But I have taken the challenge and decided to update my door with a new wreath or item each month.  And guess what? I made something awesome! It began with a gift for my “crafty boo” Deanna. She was married on Halloween and I thought to make her a nice Samhain gift that was fun and bright. Once I finished her gift, I knew I had to make myself one! And well…here it is.

Halloween wreath

I know, yarn wreaths are everywhere. But they’re so simple to make and there are endless possibilities.  I made a nice Christmas one last year with poinsettias and everyone who came by loved it. There are a TON of tutorials on Pinterest and Youtube but I just decided that I would try it out myself being the rebel that I am, and figured it out on my own. If you have some patience, yarn, a glue gun, kids in bed and maybe a nice glass of wine you too can make such a thing 😉 Yarn is so versatile and although I love me some Hobby Lobby, Michael’s really came through in the yarn department.  Most craft stores were sold out of the foam wreaths leaving me so frustrated but if you know me, you know I don’t give up! {Thanks Walmart!}

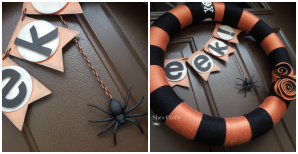
Halloween wreath3

I love the details of the banner. I weathered the edges with ink to age them up a bit and decided that the orange and black braided twine that I picked up for .29 cents on clearance this summer was perfect for the spider’s “web” as he spun down the wreath.  The felt flowers are so easy to make. I added magnets to the back of the wreath and spider to keep them from bouncing around as the door was opened and shut. This is an awesome trick for any door decor you may be hanging on your steel exterior door.

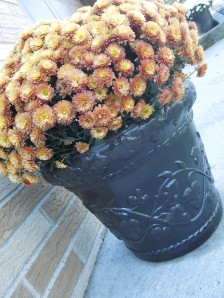
DSCN3956Here’s a sneak peek at my stoop. I think once we hit the pumpkin patch I will have more to show all of you. I like to keep things simple. With 3 kids I feel like I have the attention span of a doorknob so I tend to over think things and then lose my train of thought as I go. So it is best for a gal like to me just pick a few things and lay them out and see what I like. These planters were left from the former owner and I decided that a few coats of Rustoleum spray paint in hammered Bronze that I already had in the basement would update them perfectly and helloooooo: it’s FREE!

These planters were foam like and orange/terracotta . Now they look like metal with a nice matte shine. Perfect for the gorgeous burnt yellow Mums I bought from Randy’s Market in Temperance, MI. If you’re local I highly suggest you hit them up for your outdoor plants, especially hostas.

Deanna's wreathHere’s Deanna’s wreath and the inspiration behind mine. She loves it by the way…I am so blessed to have a crafty accomplice who touches all of the fabric and smells all of the candles with me in a store! Makes me feel like less of a weirdo. Like I said, simple.  So tell me…whatcha think? What are your go-to Autumn tips and suggestions when it comes to outdoor decor? Any fellow crafters with tips on decorating a stoop are more than welcome!